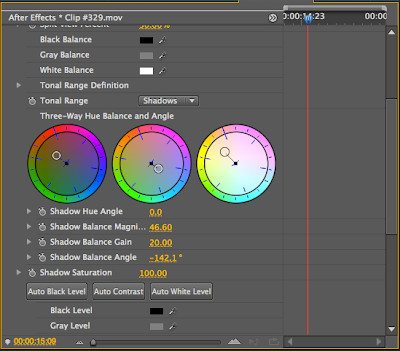
The second Personal Experience I chose to research was utilizing color correction and vignettes within Adobe Premiere. I’m using the same footage I did in my PE1 post for continuity and to maintain the comparison between footage with the 3:2 pulldown and footage without.
I learned through the Lynda tutorials how to do a three-way color correction and adjust shadows, midtones, and highlights towards various colors on the color wheel to achieve the look I was going for in the “rap” video I created for my OMM. To do this, I reduced saturation down to 65%, pulled the shadows and highlights towards orange and the midtones towards blue. This reduced the happy bright colors that I had in the camera and gave it more of a grunge rap video type look.
I also used the RGB curves effect and brought the shadows down and the highlights up to create more of a contrast within the video.
The last adjustment I made was to add a vignette. I wouldn’t keep the vignette in this footage normally because the continuous skyline gives it away and actually tends to draw the eye away from the kickin’ rappers. However, I wanted to put it in as part of my review because it can add a nice effect, especially if you want to bring out a subject in the center.
Please visit this LINK to see the footage.
No comments:
Post a Comment